
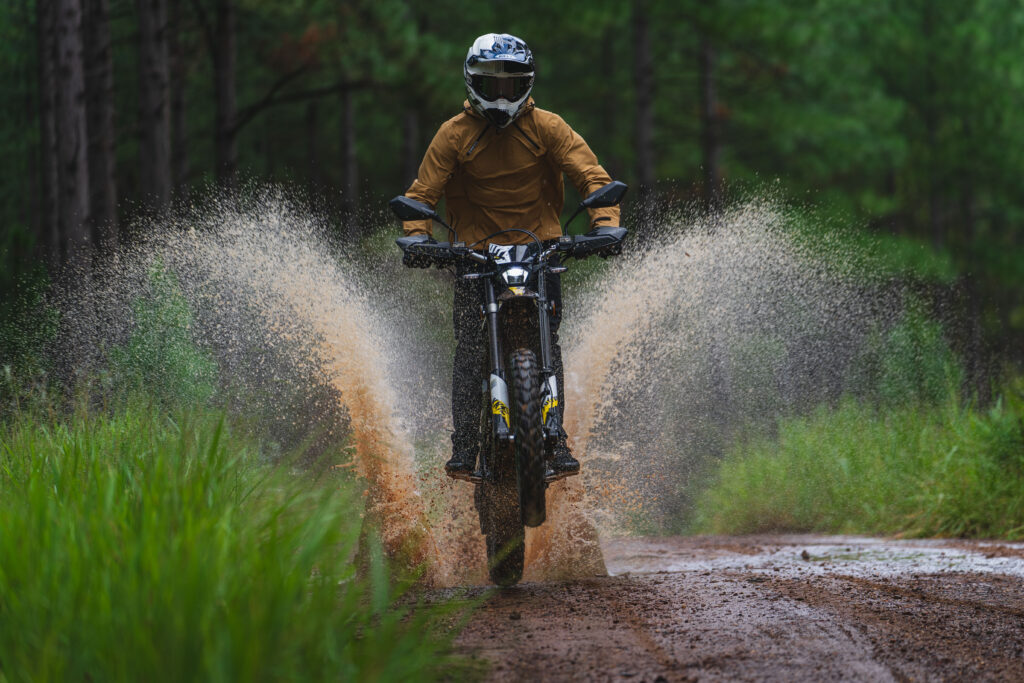
There’s nothing quite like the satisfaction of a proper off-road session. Mud flying, tyres gripping, that electric surge pushing you through conditions that would leave petrol bikes gasping for air. But here’s the thing about pushing your Surron through the gnarliest trails: all that mud, moisture, and grit doesn’t just wash off on the ride home. It settles into places that can cause serious problems if you skip the post-ride cleanup.
A quick five-minute hose-down might seem like enough, but your bike deserves better. This guide breaks down exactly how to clean and protect a Surron motorbike after an off-road ride, keeping it running strong ride after ride.
Why Post-Ride Maintenance Matters
Off-road riding introduces your bike to a harsh cocktail of challenges. Muddy trails throw moisture, grit, and corrosive soils at every exposed surface. Water seeps into bearings, mud cakes around seals, and fine dirt works into chain links. Left unchecked, these conditions accelerate wear and can cause expensive damage down the track.
Surron electric bikes have fewer moving parts than petrol machines, which is brilliant for reliability. But those electrical components – the battery connections, controller wiring, motor housing – need proper protection from moisture and contamination. A flooded connector or corroded terminal can leave you with a dead bike, and these issues often develop slowly after repeated exposure to wet conditions.
Getting into a solid post-ride routine makes life easier. Grime left to sit hardens and works its way deeper into components, turning a simple 10-minute cleanup into an hour-long battle with caked-on mud. When you store your bike clean and properly maintained, you’re starting from a known good baseline. Before your next ride, a quick check of suspension seals, chain tension, and battery charge takes just minutes, rather than requiring a full cleanup and inspection.
Step 1: Rinse & Clean Immediately
The best time to clean your Surron is immediately after the ride, before the mud hardens and the grit becomes deeply embedded in the moving parts. Start with a gentle hose or low-pressure wash, but keep water away from electrical connectors, the motor casing, and the battery area. High-pressure water washers are your enemy here. That powerful jet that blasts dirt and mud off quickly also forces water past seals and into places it should never go.
Begin by removing the large clumps of mud from the swing arm, under the chassis, and around the chain and sprocket areas. Don’t worry about getting everything perfectly clean in this first pass, as you’re just knocking off the bulk of the muck. Pay special attention to any areas where mud has built up thickly, as these areas trap moisture against metal parts.
Now grab a bucket of water with mild detergent and a soft brush or cloth. Work your way around the bike, being especially gentle around electrical boxes, the controller, and any visible wiring. These areas need cleaning, but they require a delicate touch. A soft brush will allow you to remove dirt from crevices without forcing water where it shouldn’t go.
After your rinse, thorough drying is just as important as the wash itself. Focus on the battery compartment, all electrical connections, and bearing areas. Water left sitting in these spots leads to corrosion and premature wear. A clean, dry cloth works well, and if you have compressed air available, short, gentle bursts can help dislodge water from hard-to-reach spots. However, be sure to keep the pressure reasonable and the nozzle at a safe distance from seals. Taking the time to properly clean and dry your bike now will significantly extend the life of its components.
Step 2: Protect Against Corrosion & Inspect Electricals
Once your bike is clean and dry, it’s time for the protection phase. Start by inspecting all connectors, wiring, and battery terminals for any signs of moisture or corrosion. Look for discolouration, white powdery deposits, or any connectors that seem loose or damaged. Catching these issues early prevents roadside breakdowns.
Apply dielectric grease or an approved electrical protectant to exposed terminals and connector areas. This creates a moisture barrier that prevents corrosion from taking hold. Don’t go overboard – a light coating is all you need. Focus on any connectors that may be exposed to water spray or condensation during storage.
Your frame and swing arm took a beating out there, and mud mixed with trail debris can scratch through paint and protective coatings. Apply a light protective coating, such as wax or metal protectant, to exposed frame surfaces where mud and grit have scraped away at the finish. This simple step prevents rust from starting in vulnerable areas.
Check that your battery is properly seated and secure. Mud and vibration from rough riding can loosen hold-down clamps or shift the battery in its compartment. A battery rattling around causes wear on connections and can lead to electrical faults.
If your ride was especially muddy or wet, consider giving your bike a rest period in a dry, covered space before storing it normally. This allows any remaining moisture in hard-to-reach areas to evaporate naturally, rather than sitting in a closed garage or shed where it can’t escape.
Step 3: Chain, Sprocket & Drivetrain Care
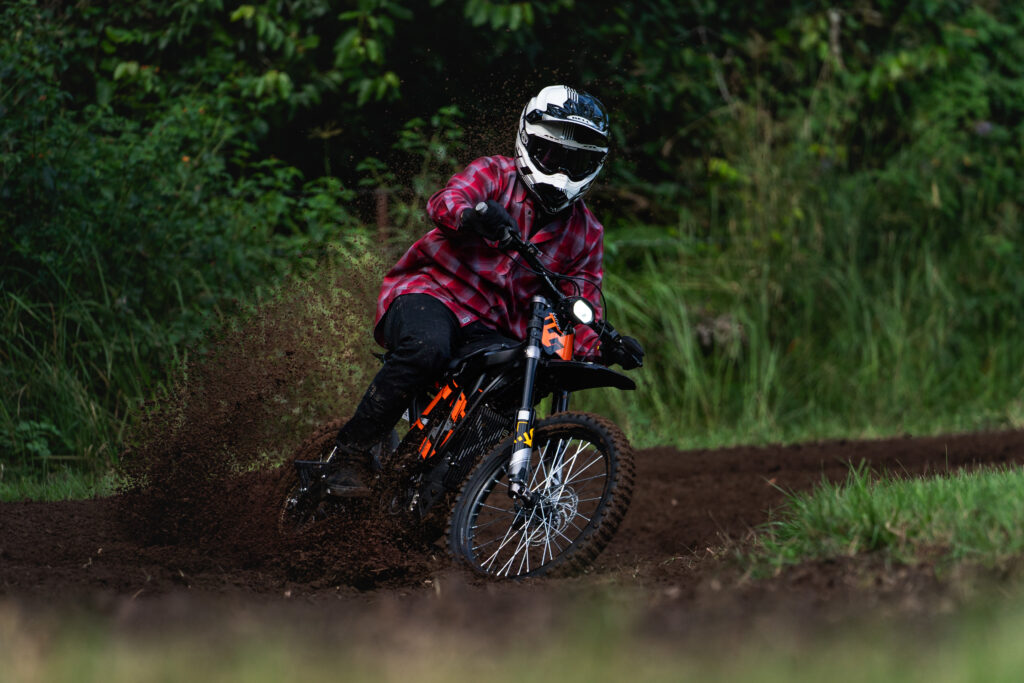
Your chain and sprockets bore the brunt of transferring all that electric power to the rear wheel through mud, water, and grit. They need thorough attention after every muddy ride. Chain cleaning begins with removing all visible dirt and grit. That mixture of dirt and moisture is abrasive, and it’ll eat through metal surprisingly quickly if left in place.
After cleaning, apply a good-quality chain lubricant. Don’t skip this step or put it off, as a clean, dry chain will wear faster than a dirty, lubricated one. Work the chain lube into the links by rotating the wheel slowly, making sure you’ve covered the entire chain. Wipe off any excess that drips or splatters, as this will only attract more dirt.
Check your chain tension while you’re here. For most of our models, you’re looking for 15-30mm of free play – proper tension is crucial for both performance and component longevity. Refer to your owner’s manual for the specific specifications of your model. Chain tension that’s too tight puts unnecessary stress on bearings and the motor, while too loose creates slop and can lead to the chain jumping off the sprocket at the worst possible moment.
Inspect your sprockets carefully for wear or damage. Look for teeth that have become sharp or hooked, uneven wear patterns, or any cracks. Muddy off-road use accelerates sprocket wear significantly compared to clean trail riding. Catching wear early means you can replace sprockets before they damage your chain, saving money in the long run.
Take a moment to check the swing arm area for grit that might have worked its way into pivot points. If you spot any contamination or your pivots feel notchy when you move the swing arm, clean thoroughly and apply fresh lubrication. Smooth pivots mean smooth suspension action.
Step 4: Suspension System & Frame Check
Your suspension system works hard on every ride, and muddy conditions make its job even tougher. Start by inspecting your fork stanchions and shock for any oil leaks, visible damage, or grit build-up, especially around the seals. These seals are your suspension’s first line of defence against contamination, and mud packed around them can work its way past and into the internals.
Clean all mud from linkages, swing arm pivots, and frame joints. These areas often get overlooked, but mud left caked here holds moisture against metal and accelerates corrosion. Use a soft brush to access tight spaces, and ensure everything’s clean and dry. Regularly cleaning these pivot points prevents premature wear and keeps your suspension working smoothly.
Work your way around the bike, checking all bolts, mounts, and fasteners, paying special attention to those exposed to mud and vibration. It’s surprising how quickly fasteners can work loose when you’re pounding through rough terrain. A quick check with the appropriate tools ensures everything stays tight and safe – catching loose parts now prevents bigger problems later.
If you hit particularly deep mud or water crossings during your ride, take extra time to check for hidden damage or mud packed into pivot points. Sometimes mud works its way into places you can’t easily see, and it sits there grinding away at bearings and bushings. If something doesn’t feel right or you notice unusual resistance in any moving parts, investigate thoroughly.
Step 5: Battery & Electrical Components Check
After a hard ride, your battery will likely be warm – sometimes quite warm. Before charging, let it cool down to near ambient temperature. Charging a hot battery puts unnecessary stress on the cells and can reduce its lifespan over time. Most riders find 30 minutes to an hour is plenty of cooling time, depending on how hard you’ve been riding.
Clean the battery casing exterior carefully, but keep the water spray away from the charging ports and connection points. Our batteries are well-sealed, but they’re not designed to be pressure-washed or submerged. A damp cloth is your friend here, as it is both effective and safe.
Inspect your wiring harness, connectors, and display socket for moisture, grit, or loose connections. Pay attention to any wiring that comes close to moving parts or areas where mud splashes up. A connector that picks up moisture might work fine today, but corrode over the next week.
If you plan to store the bike for a while after this muddy ride, ensure your battery is charged to the appropriate state. For storage, aim for around 60-80% charge rather than leaving it fully charged or nearly flat. This middle ground is easiest on the battery chemistry. And of course, make sure the bike is in a dry, well-ventilated space.
Step 6: Post-Ride Checklist & Storage
Here’s your quick-reference checklist to tick off after every muddy ride:
- Bike rinsed clean with low-pressure water, avoiding electrical areas
- Entire bike dried thoroughly, especially battery compartment and connectors
- Battery area inspected and electrical wire junctions protected
- Chain and sprockets cleaned, lubricated, and tension checked (15-30mm free play)
- Suspension components and frame bolts inspected for damage or looseness
- Battery system checked, cooled if necessary, and appropriate storage charge level confirmed
- Protective coatings applied to vulnerable frame areas
If you’re storing the bike after this ride rather than heading out again soon, take these final steps seriously. A bike that’s cleaned, protected, and stored properly will be ready to rip when you are. Consider documenting any wear or damage you’ve noticed, such as chain stretch, seals that may be starting to leak, unusual noises, or sensations during the ride. Keeping track of these observations helps you spot patterns and catch problems before they become expensive repairs.
Apply a final layer of protection with wax or a protective coating to exposed metal. Ensure all electrical connections have their protective grease, and store the bike in a cool, dry environment away from temperature extremes. Your future self will thank you when the bike fires up perfectly on the next ride, running at peak performance.
Post-Ride Habits That Pay Off
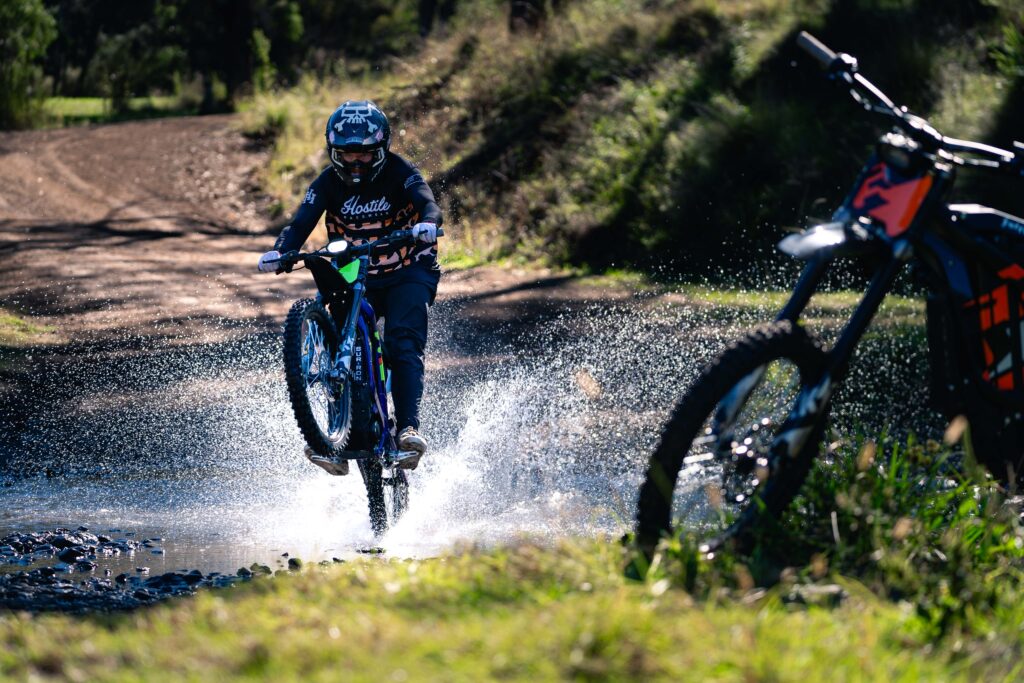
A muddy ride needs more than a quick rinse. Electric bikes require proper aftercare to keep their electrical systems and mechanical components running smoothly for years.
Make this post-ride ritual a habit, and you’ll notice the difference. Your bike starts reliably, components last longer, and you catch small issues before they become ride-ending problems. The effectiveness of your maintenance routine directly impacts how long your bike stays in top shape. Your next ride will thank you for the time spent now.
Skip the cleanup after muddy rides? You’re looking at accelerated wear, corrosion creeping into expensive components, shorter battery life, and repairs that could’ve been avoided with 20 minutes and a hose. Taking care of your bike takes care of you.
Want more Surron-specific care guides? Check your owner’s manual for model-specific specifications and maintenance schedules. If you have questions about post-ride cleaning and maintenance, don’t hesitate to reach out to your local dealer for expert advice. They’ve seen it all and can help you keep your bike in top condition for years of muddy adventures. Ready to get back out there? Browse our complete range of electric motorbikes and see why riders trust Surron to handle whatever the trail throws at them.


